How to Paint a Room: A Step-by-Step Guide

Flash Team
How to Paint a Room: A Step-by-Step Guide Painting a room can seem daunting, but with the right t...
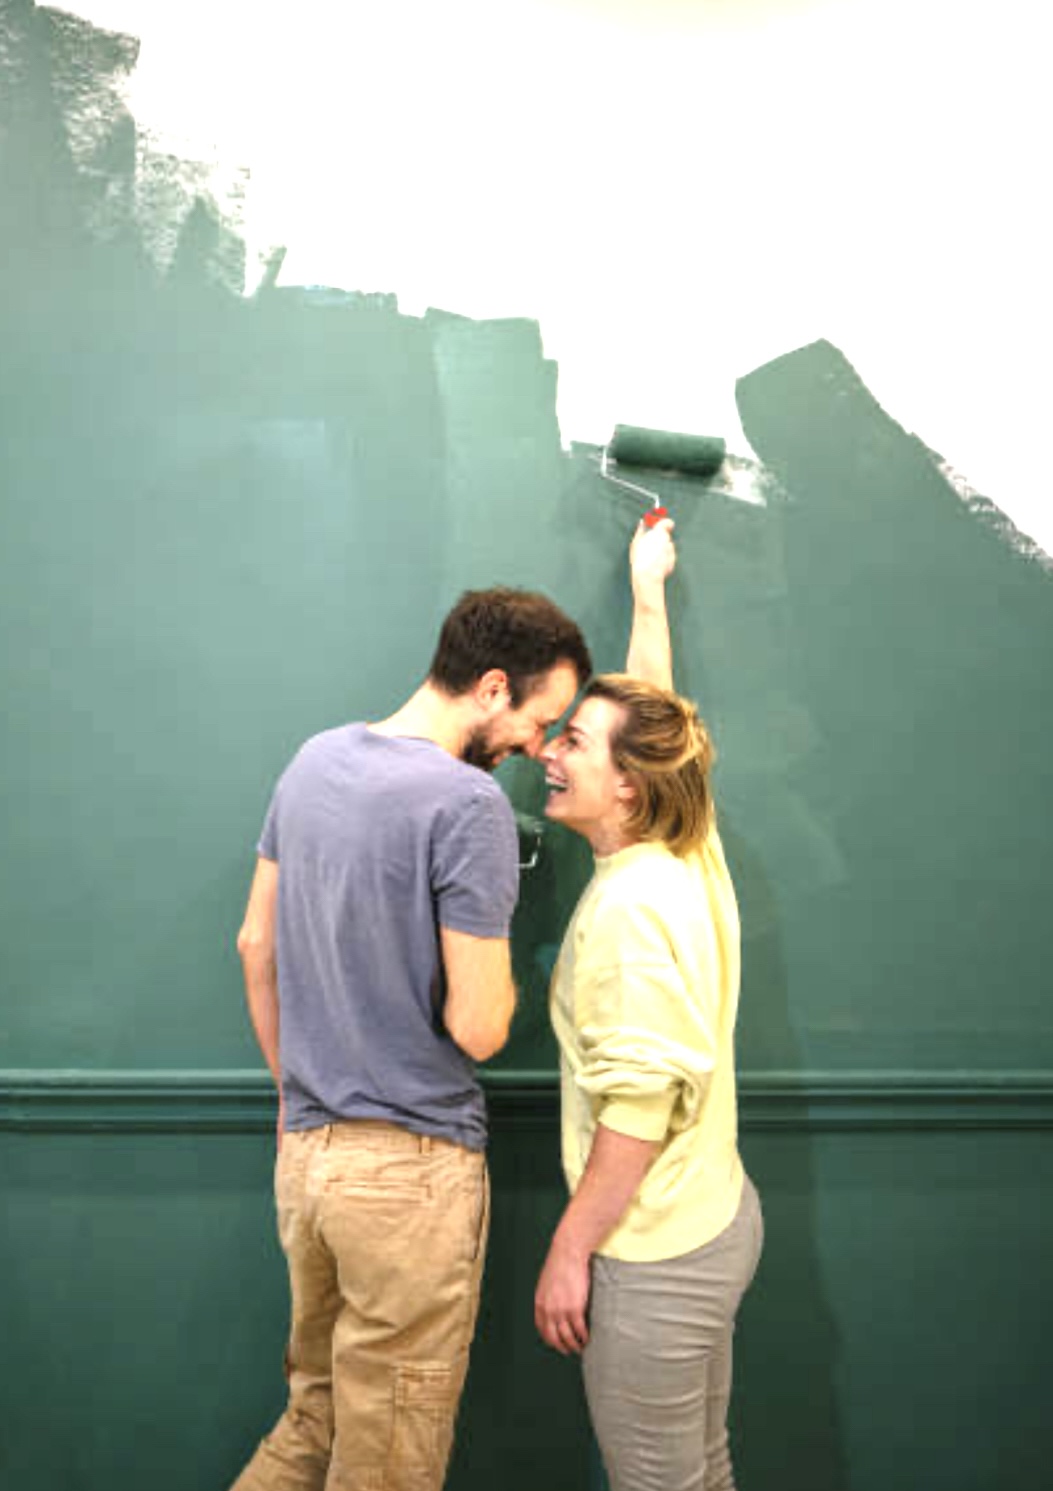
How to Paint a Room: A Step-by-Step Guide Painting a room can seem daunting, but with the right tools and a little know-how, you can transform your space into something beautiful. Whether you’re refreshing a tired room or completely changing its vibe, this guide will walk you through the essential steps to achieve a professional finish. #### 1. Gather Your Supplies Before you dive into painting, ensure you have all the necessary supplies on hand. Here’s what you’ll need: - **Masking Tape:** This is crucial for protecting edges, corners, and trim. It ensures clean lines and prevents paint from bleeding onto surfaces you want to keep untouched. - **Drop Sheets:** Protect your floors and furniture with drop sheets. They catch drips and spills, making cleanup much easier. - **Sandpaper:** If your walls have imperfections, sandpaper can help smooth them out. - **Filler:** You'll need a good filler to patch up any holes or cracks in the walls. - **Paint:** Choose a quality paint that suits your room's needs. An undercoat and two finish coats are typically recommended for the best results. #### 2. Preparing the Room After gathering your supplies, it's time to prepare the room for painting: - **Remove Furniture:** If possible, take all furniture out of the room. If you can't move large pieces, push them to the center and cover them with drop sheets. - **Clean the Walls:** Dust and dirt can affect how paint adheres. Wipe down the walls with a damp cloth to remove any grime. #### 3. Masking and Filling Now it’s time to get to work: - **Apply Masking Tape:** Carefully apply masking tape along the edges of trim, windows, and any other areas you want to protect. Press it down firmly to avoid any paint seeping underneath. - **Fill Holes and Cracks:** Use your filler to patch any imperfections. Once applied, let it dry completely before sanding it smooth. #### 4. Undercoat Before applying your final colors, use an undercoat: - **Apply the Undercoat:** This will help the finish coats adhere better and can improve the overall color. Use a roller for large areas and a brush for corners and edges. #### 5. Finish Coats Once the undercoat is dry, it’s time to apply the finish coats: - **First Finish Coat:** Start with your first finish coat, using a roller for large sections and a brush for edges. Allow it to dry completely. - **Second Finish Coat:** After the first coat has dried, apply the second finish coat. This will deepen the color and provide a more even finish. #### 6. Final Touches Once the second coat is dry, it’s time to remove the masking tape and touch up any areas if necessary. Carefully peel away the tape at a 45-degree angle to avoid damaging the paint. ### Need Help? If this process feels overwhelming or if you want to ensure a perfect finish without the hassle, consider calling **Flash Painting Services Pty Ltd**. We offer free advice and can engage our services for an affordable price. Remember, it’s best not to use your hands for this kind of work—let the professionals handle it! With these steps, you can confidently tackle painting a room on your own or make an informed decision to enlist professional help. Happy painting!